The Complete Guide to Drylining and Plasterboard Finishing

Share
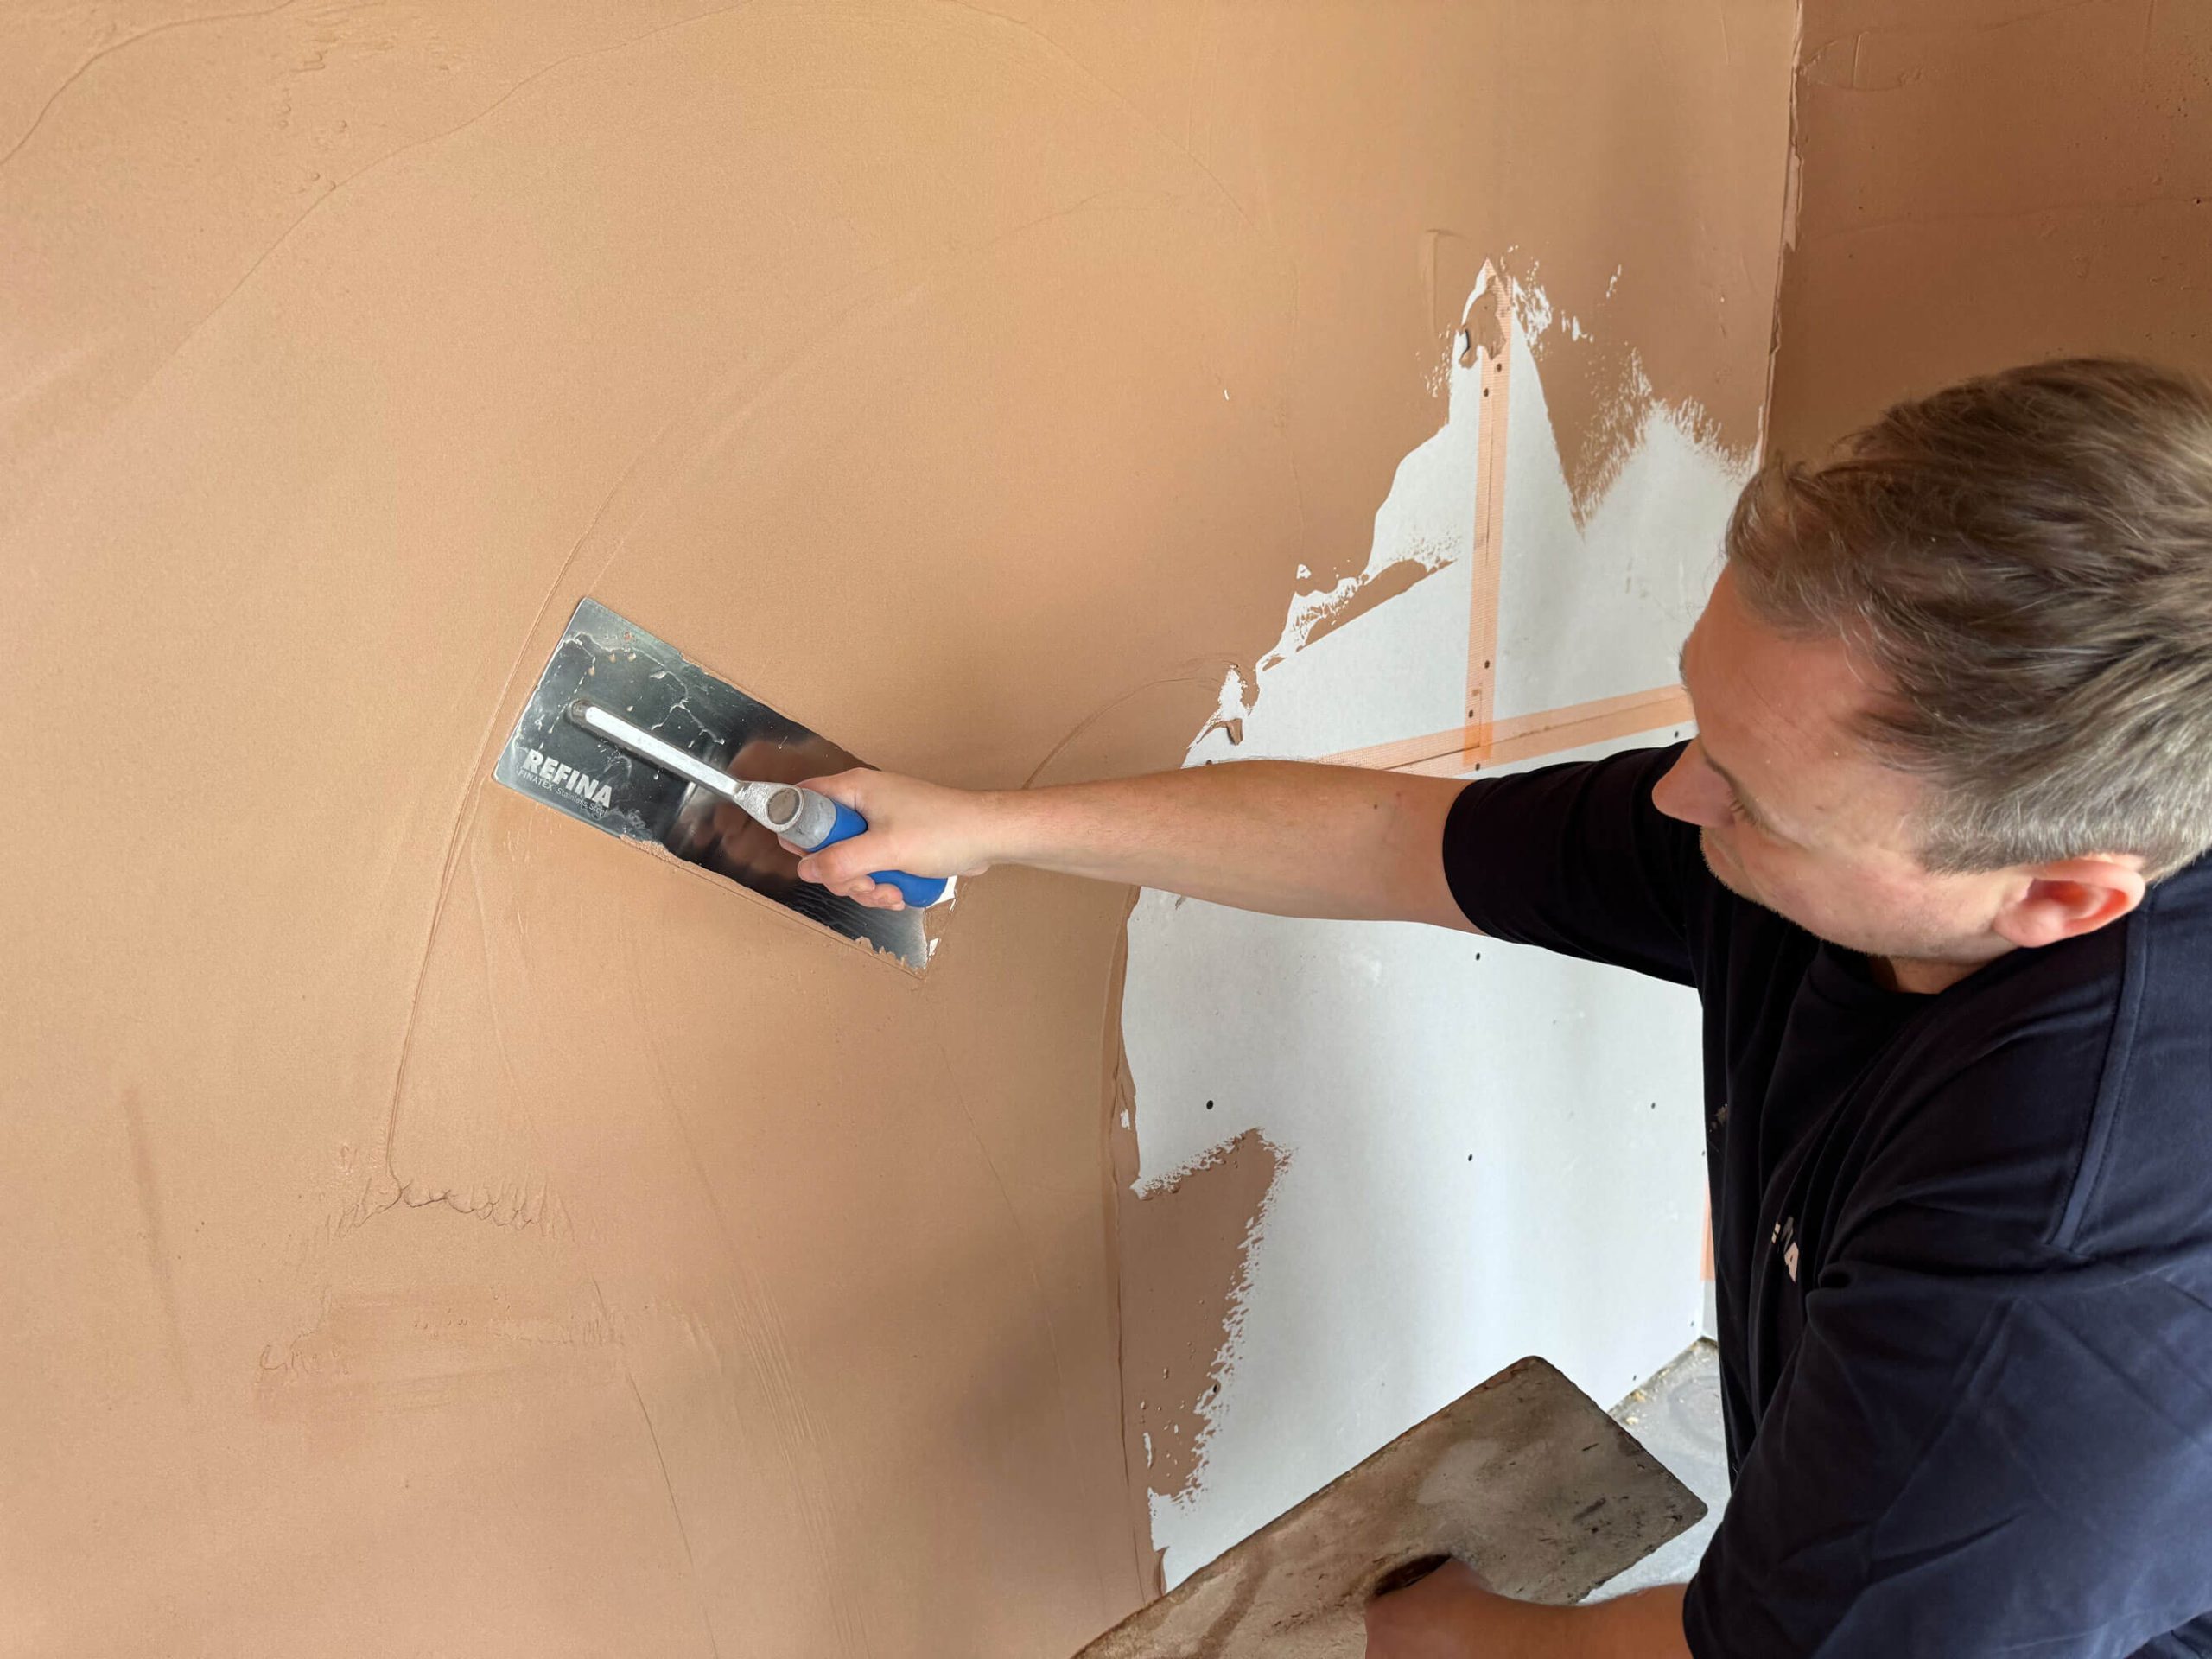
Drylining has become one of the most widely used methods of creating smooth internal walls and ceilings across residential, commercial and industrial construction. Compared to traditional wet plastering, it offers faster installation, reduced drying times and greater flexibility, making it a popular choice for everything from new-build housing developments to office fit-outs and refurbishment projects.
However, achieving a professional finish depends on more than simply fixing plasterboard in place. Choosing the correct drylining system, selecting the appropriate plasterboard, and using the right finishing method all play important roles in the quality, durability, and appearance of the completed surface.
Whether you’re installing a metal-stud partition, drylining a masonry wall using the dot-and-dab method, or preparing plasterboard for decorating, understanding the different systems and finishing techniques will help you produce consistently high-quality results.
In this guide, we’ll explain the different types of drylining systems, the most common plasterboard options, finishing methods and the essential tools used throughout the installation process.
What is Drylining?
Drylining is a construction method used to create internal walls, ceilings, and partitions by fixing plasterboard to a supporting structure without using traditional wet plaster.
Unlike conventional plastering, which involves applying several coats of plaster directly to masonry, drylining uses prefabricated plasterboard panels that are fixed mechanically or bonded to walls using adhesive. The joints are then finished using either tape and jointing compounds or a skim coat of finishing plaster before decorating.
The system is widely used throughout modern construction because it is quicker to install, requires less drying time and provides a consistent surface ready for decoration.
Drylining is commonly used for:
- Internal partition walls
- Ceiling systems
- Masonry walls
- Timber frame buildings
- Steel frame construction
- Commercial office fit-outs
- Residential housing developments
Depending on the project, different fixing methods and plasterboard types can be used to achieve specific fire, acoustic, thermal or moisture-resistant performance requirements.
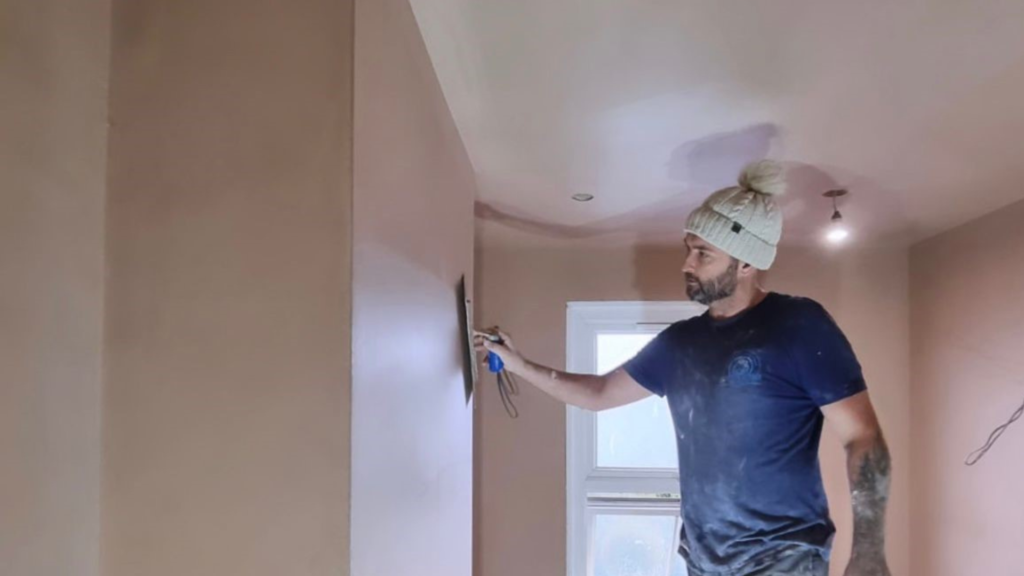
Benefits of Drylining vs Traditional Wet Plastering
Although both drylining and wet plastering create surfaces ready for decoration, drylining offers several practical advantages that have made it the preferred solution on many construction projects.
Faster Installation
One of the biggest benefits of drylining is speed.
Large plasterboard sheets allow walls and ceilings to be covered quickly, significantly reducing installation time compared to applying multiple coats of wet plaster.
Because there is no need to wait for backing coats to cure, projects can often progress more quickly, helping contractors meet demanding programmes.
Reduced Drying Time
Traditional plastering can take several days to fully dry before decorating.
With drylining, only the jointing compound or skim coat needs drying, allowing follow-on trades to start sooner and reducing on-site delays.
This is particularly beneficial during colder months, where drying conditions may be less favourable.
Cleaner Working Environment
Drylining generally produces less mess than wet plastering.
Although cutting plasterboard and sanding jointing compound creates dust, there is less mixing of plaster and significantly less waste material, helping to maintain cleaner working areas throughout the project.
Improved Building Performance
Modern drylining systems can contribute to improved thermal efficiency, acoustic performance and fire resistance.
By selecting the correct plasterboard and insulation, contractors can build partitions and wall linings that meet the performance requirements of both residential and commercial developments.

Types of Drylining Systems
Several drylining systems are used throughout the construction industry. The most suitable option depends on the building structure, performance requirements and project specification.
Direct Bond (Dot and Dab)
Direct bond, commonly referred to as dot and dab, involves fixing plasterboard directly onto masonry walls using drywall adhesive.
The adhesive is applied in evenly spaced dabs before the plasterboard is pressed into position and levelled.
This method is widely used on brick and blockwork because it provides a relatively quick and economical way to achieve smooth internal walls without constructing a separate framework.
Advantages
- Quick installation
- Minimal loss of room space
- Suitable for most masonry substrates
- Creates a flat surface ready for finishing
Considerations
The background surface must be sound, reasonably level, and free of contaminants to ensure the adhesive bonds properly.
Metal Frame Systems
Metal frame systems use lightweight galvanised steel sections to create internal partitions and suspended ceilings.
Plasterboard is fixed directly to the metal framework using drywall screws, allowing installers to create straight, stable walls with integrated service voids for electrical and mechanical installations.
Metal framing is particularly common within commercial buildings due to its strength, dimensional stability and ease of installation.
It also allows insulation to be installed within the partition, improving both acoustic and thermal performance.
Timber Stud Systems
Timber stud walls remain common in residential construction, particularly in timber-frame buildings and loft conversions.
The plasterboard is fixed directly to the timber framework using drywall screws or nails before the joints are finished.
Although the installation process is similar to metal framing, it’s important that the timber has been properly seasoned and remains dimensionally stable to reduce the risk of movement after installation.
Correct screw spacing and staggered board joints also help improve the overall strength and appearance of the finished wall.
Choosing the Right Plasterboard
Not all plasterboard is designed for the same application. Selecting the correct board helps ensure that the finished installation performs as intended while meeting the building’s requirements.
Standard Plasterboard
Standard plasterboard is suitable for most internal walls and ceilings in dry environments.
It is the most commonly used board for domestic and commercial applications where no enhanced performance characteristics are required.
Moisture-Resistant Plasterboard
Designed for areas exposed to higher humidity, moisture-resistant plasterboard contains water-repellent additives that reduce moisture absorption.
It is commonly used in bathrooms, kitchens, utility rooms and other areas where intermittent moisture is present.
Fire-Rated Plasterboard
Fire-rated boards incorporate glass fibres and other additives that improve fire resistance.
They are typically specified for protected escape routes, compartment walls and ceilings where compliance with fire regulations is essential.
Acoustic Plasterboard
Acoustic plasterboard features a denser core that helps reduce sound transmission between adjoining rooms.
It is often installed in apartments, offices, hotels and other buildings where improved sound insulation is required.

Plasterboard Finishing Methods
Once the plasterboard has been installed, the joints and fixings need to be finished before the surface is ready for decorating. The two most common methods are tape and jointing and full skimming, although some projects may use a combination of both depending on the specification and desired finish.
The right approach will depend on factors such as budget, programme, finish quality and the intended use of the building.
Tape and Jointing
Tape and jointing is a dry finishing method that reinforces and conceals the joints between plasterboard sheets without covering the entire surface with plaster.
The process involves applying jointing compound over the board joints, embedding paper or fibreglass tape, and applying one or more finishing coats to feather the joints into the surrounding plasterboard. Screw fixings and corner details are also filled before the surface is lightly sanded once dry.
Because only the joints are treated, taping and jointing are generally quicker than skimming and require less material. It’s commonly specified on large housing developments, commercial fit-outs and office projects where speed and efficiency are key priorities.
Full Skimming
Full skimming involves applying a thin coat of finishing plaster over the entire plasterboard surface to create a continuous, uniform finish.
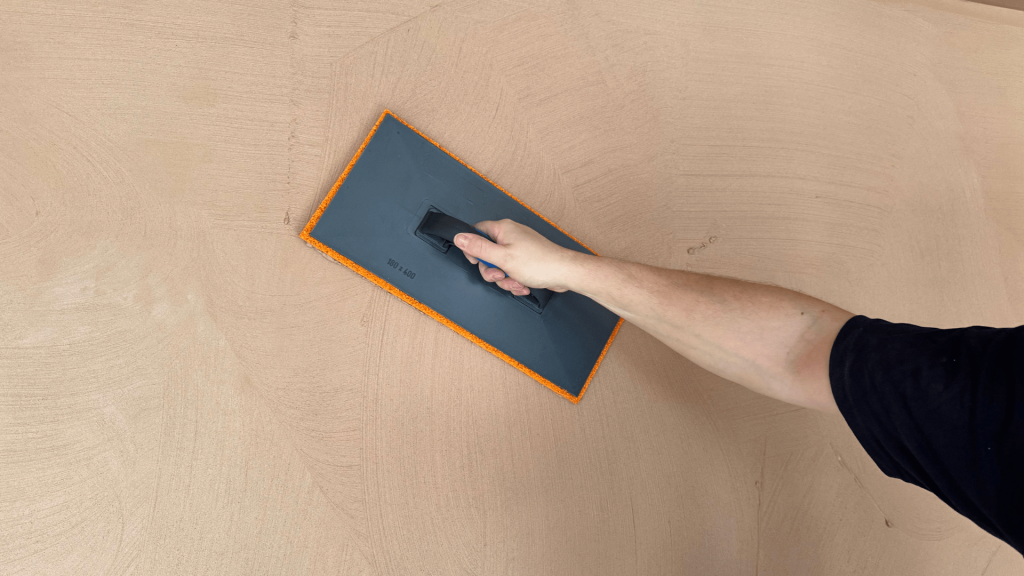
The skim coat is typically applied in two passes, then flattened and polished with finishing trowels as the plaster firms up. Covering the whole wall helps conceal board joints and minor surface imperfections, producing a smooth finish that’s ready for decorating once fully dry.
Many plasterers continue to favour skimming, particularly on domestic projects where a high-quality decorative finish is expected.
Hybrid Approaches
Some projects use a combination of both methods.
For example, plasterboard may initially be taped and jointed before receiving a skim coat to create a more uniform finish. Hybrid approaches are also common during refurbishment work, where existing tape and jointed walls are skimmed to improve the appearance prior to redecoration.
Choosing the most suitable finishing method ultimately depends on the project’s specification, timescale and desired finish quality.
Essential Drylining Tools
Using the correct tools helps improve efficiency, achieve cleaner finishes and reduce remedial work. While specific requirements vary between projects, several tools are commonly used throughout the drylining and finishing process.
Jointing Knives
Jointing knives are used to apply a smooth jointing compound over plasterboard joints and screw fixings.
Available in a range of blade widths, wider knives are often used for the final coats to feather the compound over a larger area, helping to minimise visible transitions once painted.
A great example of these tools is our Clipped Joint Knife which features an angled stainless steel blade and is ideal for reaching into tight angles and awkward areas. Alternatively, we also offer an 8 Piece Jointing Knife Set with each tool featuring high-quality stainless steel blades, soft grip handles and aluminum end caps. For those requiring a single Spatula Knife ; this may be your best choice. A semi-flexible spatula designed with 0.5mm gauge and a n extended 88mm stainless steel blade made for effortlessly applying materials as well as flattening and smoothing surfaces. For applying coatings such as jointing compound to walls and ceilings, REFINA stock Coating Knives with a semi-flexible blade.
Taping Tools
Taping tools help embed joint tape evenly into the compound, reinforcing board joints and reducing the risk of cracking.
Using the correct taping knife or finishing blade ensures excess compound is removed while maintaining full contact between the tape and plasterboard.
Corner Tools
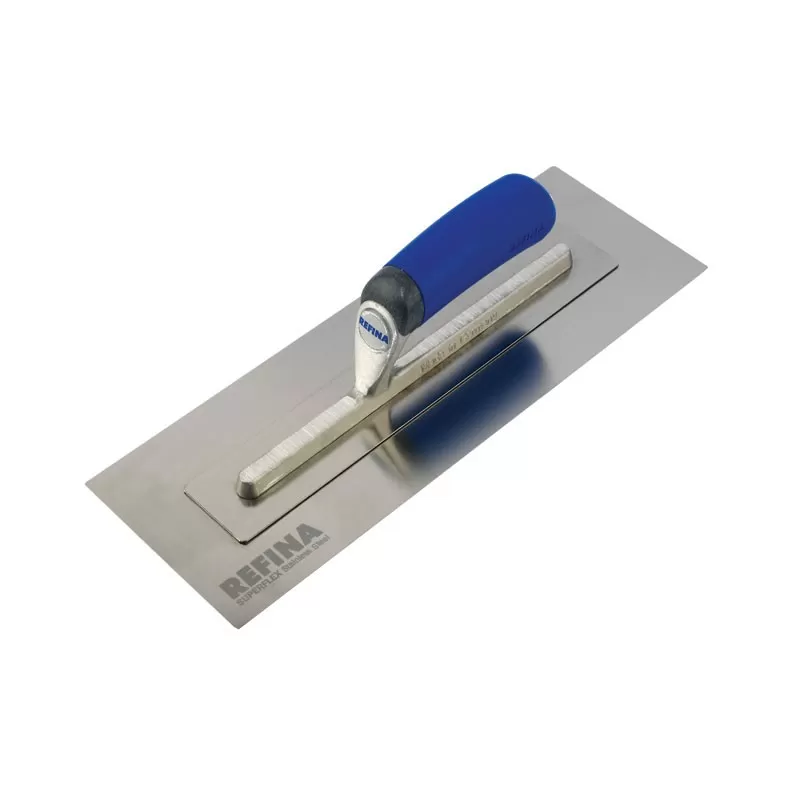
Internal and external corner tools help create straight, consistent corners while improving productivity on larger projects. Generally speaking, Refina offers angle trowel tools to best support accuracy within projects. REFINA stock very premium rose gold plastering trowel designed for professionals who demand precision, comfort, and durability which goes by the name of Finatex 2 Finishing Trowel.
Purpose-made corner tools also help reduce excess compound build-up, producing cleaner corner details that require less sanding before decoration. To accompany the angle trowel tools, we offer the Angled Bucket Scoop Spatula manufactured with a rounded stainless steel blade that allows for scraping the side of the bucket, the blade is also bent at an angle to ensure material stays on the spatula knife for easy pick-up. Not to mention the Bucket Scoop Spatula Knife to collect as much material as possible and even reach right to the bottom of the bucket with ease.
Sanding Equipment
Once the jointing compound has dried, sanding removes minor imperfections and helps produce a smooth surface ready for painting.
Hand sanders, pole sanders and dust extraction systems all play an important role in maintaining finish quality while helping to minimise airborne dust on site. Sanding equipment
Common Installation and Finishing Challenges
Even experienced dryliners can encounter issues during installation or finishing. Understanding the most common problems can help prevent unnecessary remedial work and improve the overall quality of the finished project.
Visible Joints
Poor feathering of the jointing compound or insufficient sanding can leave joints visible after decorating, particularly under strong natural light.
Joint Cracking
Movement within the building or incorrectly embedded joint tape can cause cracks to appear over time. Ensuring joints are properly reinforced and following the manufacturer’s recommendations helps reduce the likelihood of cracking.
Uneven Board Alignment
Boards that are not fixed level or joints that are not staggered can create uneven surfaces that are more difficult to finish. Careful setting out and installation are essential for achieving a professional result.
Screw Popping
Fixings that are over-driven or insufficiently secured may become visible after decoration. Correct screw depth and spacing help maintain a secure fixing while preventing damage to the plasterboard face.
Best Practice Guidance
Achieving a high-quality drylined finish starts with careful preparation and attention to detail throughout every stage of the installation.
Before fixing plasterboard, ensure the supporting structure is straight, secure and suitable for the chosen fixing method. Boards should be installed with correctly spaced fixings, staggered joints and accurately formed corners to create a stable foundation for finishing.
When applying jointing compounds or finishing plaster, always follow the manufacturer’s guidance regarding mixing, application and drying times. Allow each coat to dry fully before applying the next, and avoid rushing the finishing process, as this can lead to visible imperfections once decorated.
Using the right tools throughout the job also significantly impacts the final result. Quality jointing knives, corner tools, sanding equipment and finishing trowels help improve consistency, reduce fatigue and produce a cleaner, more professional finish.
Final Thoughts
Drylining has become an essential construction method for creating high-quality internal walls and ceilings quickly and efficiently. With a range of fixing systems, specialist plasterboards and finishing methods available, it offers a versatile solution for both residential and commercial projects.
Whether you’re installing plasterboard using the dot-and-dab method, constructing metal-stud partitions, or finishing joints with tape and jointing or a full skim coat, selecting the correct materials and tools is key to achieving the best results.
By understanding the different drylining systems and following established best practices, plasterers and dryliners can improve productivity, reduce remedial work, and consistently deliver professional finishes that are ready for decoration.
For further guidance on choosing the right tools and techniques for plasterboard finishing, explore our related guides on plastering trowels and tools for different applications.
How To Choose The Right Plastering Trowel for Every Stage of Skimming