LOADING

Type to search

Why Straight Edges Are Important Tools in Rendering

Basics Guides

Why Straight Edges Are Important Tools in Rendering

Share

When it comes to achieving flawless plastered and rendered surfaces, having the right tools is essential. Among these, straight edges are indispensable for ensuring evenness, precision, and quality. As a seasoned professional, you will understand the importance of straight edges in rendering can significantly enhance your work’s final outcome.

What is a Straight Edge?

A straight edge is a long, flat tool used to level and smooth surfaces. In rendering, straight edges are used to ensure that the plaster or render is applied evenly, creating a perfectly flat and smooth surface. These tools help remove excess material and identify any high or low spots during the application process.

Types of Straight Edges and Their Applications

There are several types of straight edges available, each designed for specific tasks in rendering. REFINA aluminium straight edges come with a high-quality, non-marking factory finish that prevents cement, laitance marks, and metal residue. This premium coating ensures a clean, streak-free render, delivering a flawless finish on every surface.

I-Section Straight Edges

I-Section straight edges are designed for more demanding tasks. Their I-shaped cross-section offers superior strength and durability, making them suitable for extensive and heavy-duty rendering projects.

I-section straight edges and scrapers are essential tools for achieving a smooth, even finish in monocouche render applications. Designed for precision and durability, they help level and scrape excess material, ensuring a consistent depth and flawless surface. Their sturdy construction provides excellent rigidity while remaining lightweight for ease of use.

Applications:

  • Monocouche rendering projects
  • Ensuring precision over long distances
  • Easily level and scrape excess material from surfaces
  • Identifying high and low spots

1’8″ – 6’7″ sizes available. Precision engineered from lightweight aluminium, ideal for scraping back & levelling render.

Explore the full range of I-section profiles at REFINA online.

Feather Edges

Feather edges taper to a fine edge, allowing for precise finishing. They are particularly useful for final smoothing and achieving a high-quality finish.

Applications:

  • Ruling off renders and plasters
  • Identifying high and low spots

1’8″ – 6’7″ profile sections available with a serrated edge. Ideal for levelling newly applied render.

1’8″ – 8’2″ sizes available, featuring plastic end caps & a finger groove. Ideal for sweeping across surfaces.

H-Section Straight Edges

H-section straight edges combine strength and lightweight design, making them versatile for various rendering tasks. Their shape provides added rigidity, making them suitable for both general and detailed work.

Applications:

  • Ideal for levelling and flattening base and top coats
  • Identifying high and low spots

1’8″ – 8’2″ sections available. Featuring an enhanced grip & perfect for levelling sand & cement renders and backing coats.

1’8″ – 6’7″ H-section profile sections available with a serrated edge. Ideal for levelling newly applied render & low spots.

Box Rule Levels

Box rule levels are essential tools for wall and flooring installations, providing accuracy when identifying high and low spots and ensuring surfaces are perfectly level. 

They are particularly well-suited for rendering applications and are invaluable when checking levels during the installation of external wall insulation (EWI) boards.

Applications:

  • General rendering tasks
  • Heavy-duty straight edge for aligning EWI boards
  • Ideal for checking flatness across large areas

Heavy duty reinforced aluminium construction. Equipped with 1x 90° & 1x 180° Vials. Available in a range of sizes.

Ideal for wall and flooring installations, as well as identifying high and low spots. Made from lightweight aluminium.

Choosing the Right Straight Edge

Selecting the right straight edge depends on several factors, including the size of the area to be rendered, the type of material being used, and the level of precision required.

  • Length: Straight edges come in various lengths, typically ranging from 1 meter to 3 meters. Longer straight edges are ideal for large surfaces, while shorter ones are better for detailed work.
  • Material: Aluminum is the most common material for straight edges due to its lightweight, durability, and resistance to rust.
  • Purpose: Choose a box section for general tasks, an I-beam for heavy-duty projects, and a feather edge for fine finishing.

Benefits of Using Straight Edges in Rendering

Straight edges offer several benefits that can greatly improve the quality of your rendering work:

  • Ensures Even Thickness: Straight edges help apply plaster or render evenly across the surface, avoiding any variations in thickness.
  • Reduces Material Waste: By removing excess material, straight edges help minimize waste, making your project more cost-effective.
  • Improves Finish Quality: Achieving a smooth and flat surface is essential for a professional finish, and straight edges make this possible.
  • Saves Time and Effort: Using a straight edge can speed up the rendering process and reduce the effort required for smoothing and finishing.

Step-by-Step Guide to Using Straight Edges Effectively

To get the best results when using straight edges in rendering, follow these steps:

Step 1: Prepare the Surface

Ensure that the surface to be rendered is clean and free of dust, debris, and loose materials. Apply a bonding agent if necessary.

Step 2: Apply the Render

Apply the render mixture to the wall using a trowel. Work in manageable sections to prevent the render from drying out too quickly.

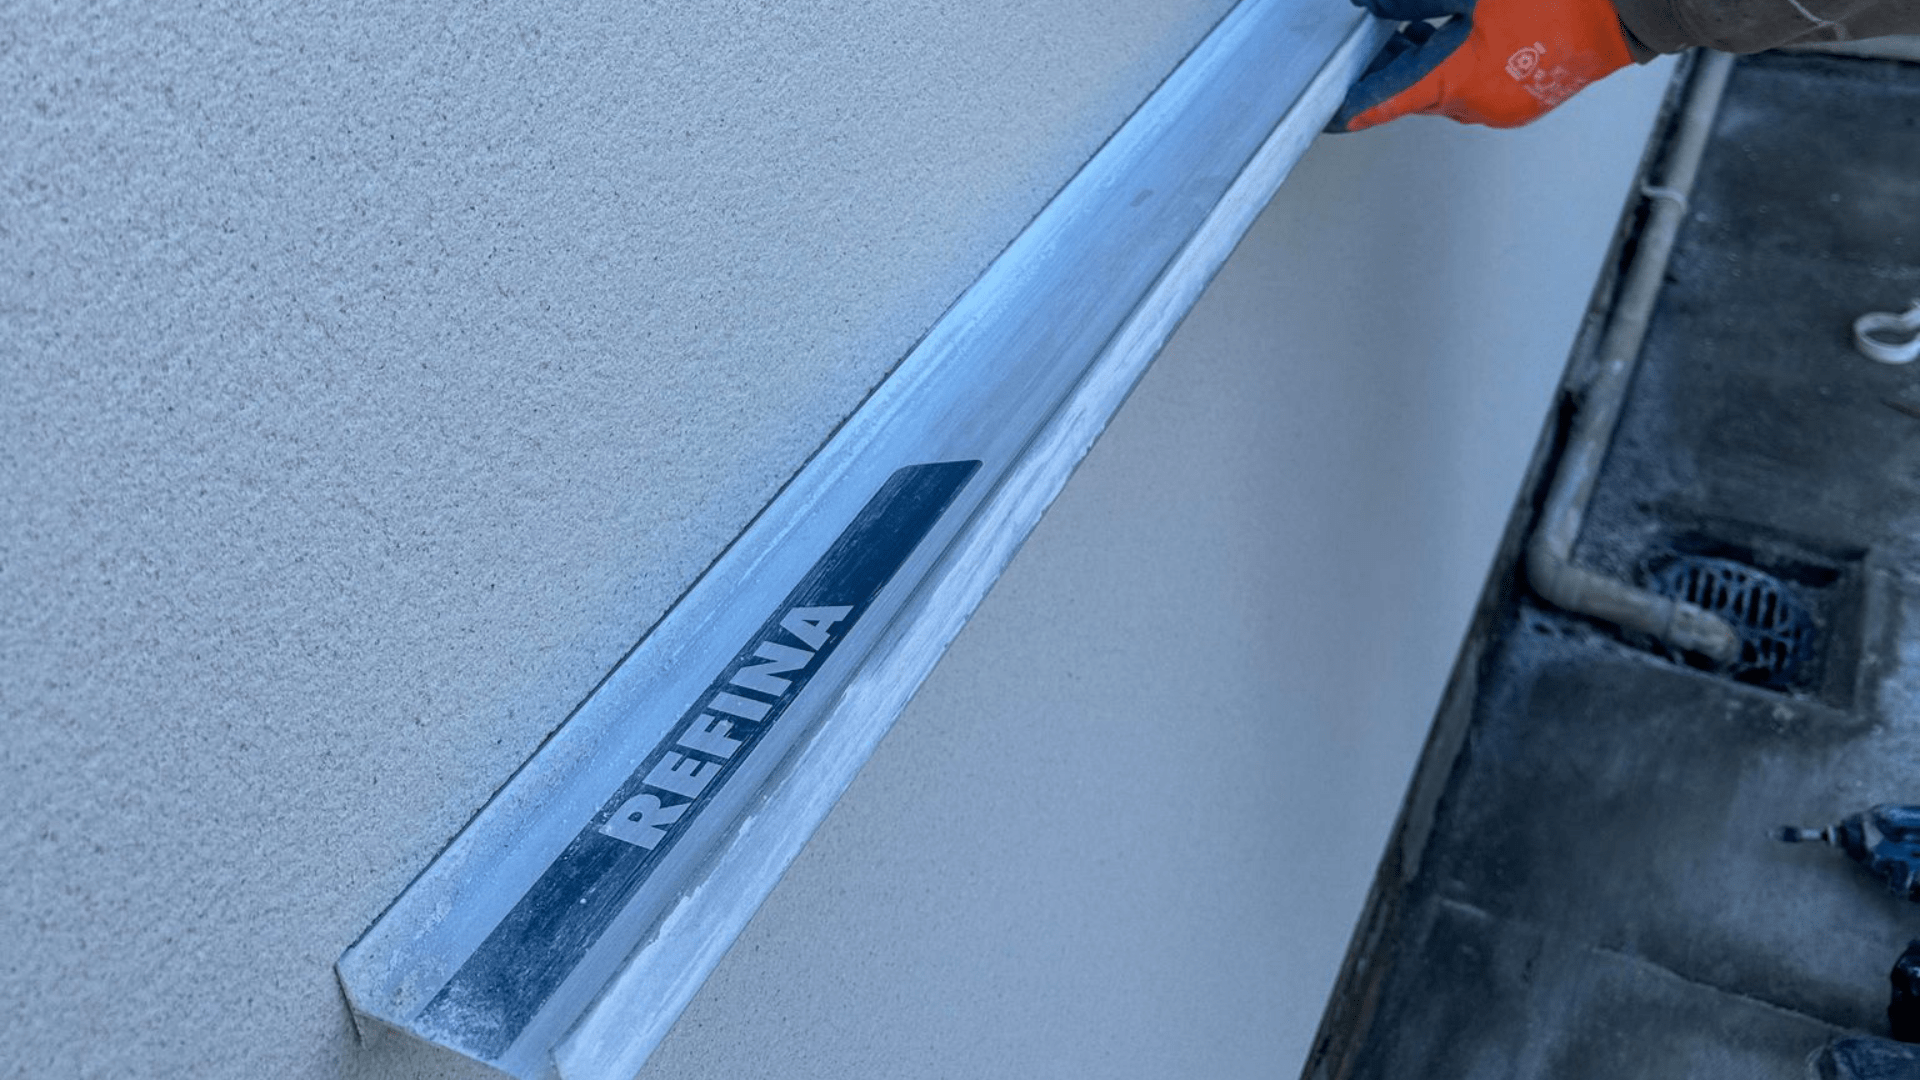
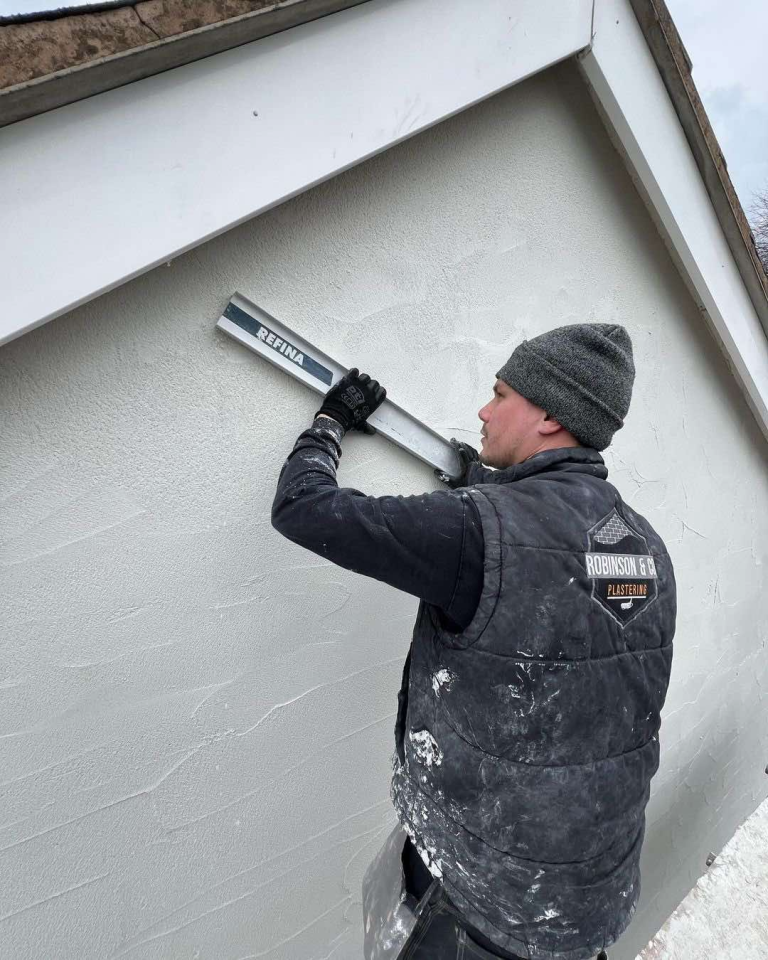
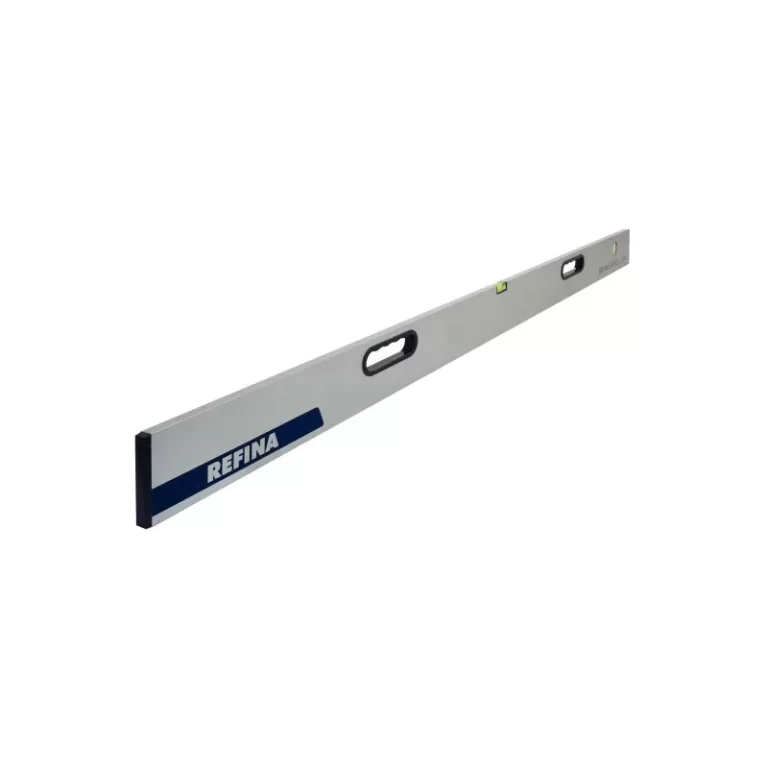
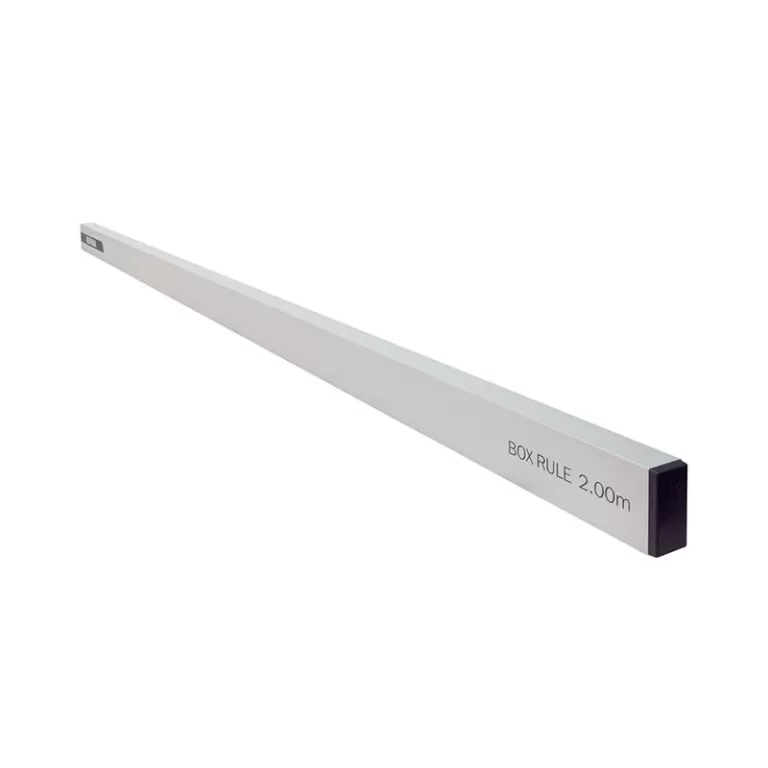
Step 3: Use the Straight Edge

Hold the straight edge firmly against the wall, starting from the bottom. Move it upwards in a sawing motion to level the render. Ensure even pressure for a consistent finish.

Step 4: Check for High and Low Spots

As you work, check for any high or low spots. Add more render to low spots and remove excess from high spots.

Step 5: Smooth and Finish

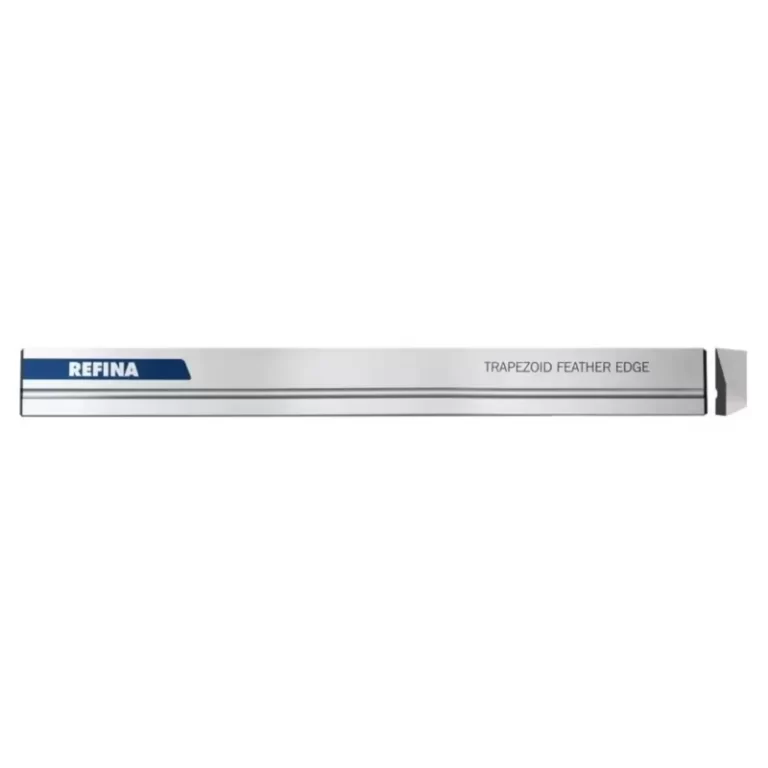
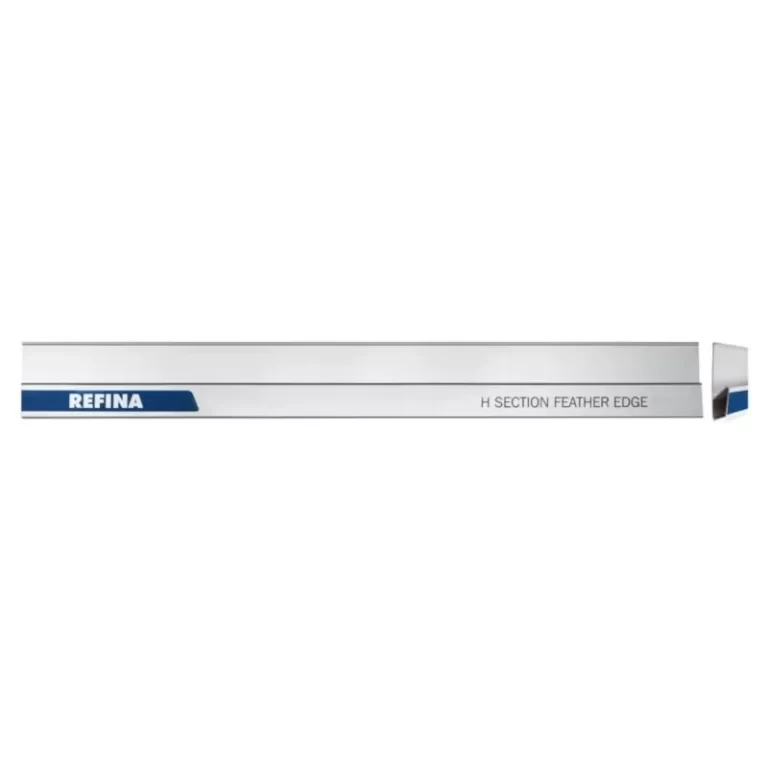
Once the render is level, use a feather edge for final smoothing. Allow the render to set slightly before giving it a final polish with a float.

Tips for Using Straight Edges

  • Keep Your Tools Clean: Clean your straight edge after each use to prevent material build-up.
  • Use the Right Length: Match the length of your straight edge to the area you are working on.
  • Check for Straightness: Regularly check your straight edge to ensure it remains straight and free of damage.
  • Apply Even Pressure: Uneven pressure can result in an uneven surface. Maintain consistent pressure while using the straight edge.

Straight edges are essential tools in rendering, providing the precision and quality needed for professional results. By understanding the different types of straight edges, their applications, and best practices for using them, you can enhance the quality of your rendered surfaces. Whether you are working on a small project or a large-scale job, the right straight edge can make all the difference.

Explore REFINA’s range of high-quality straight edges and other plastering tools to achieve outstanding results in your rendering projects.

Leave a Comment