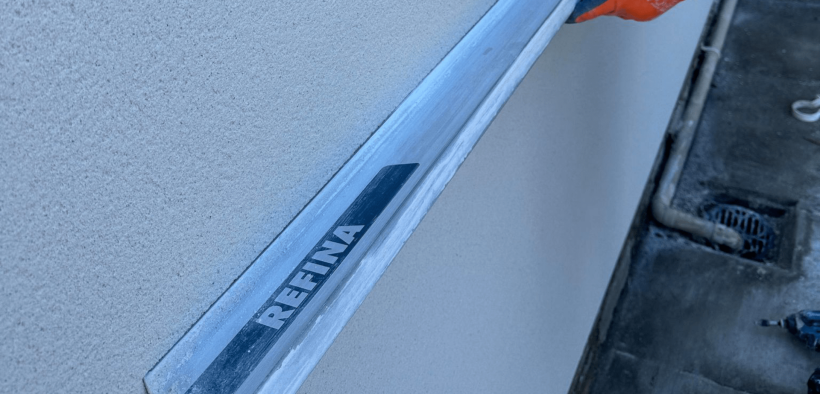
To get the best results when using straight edges in rendering, follow these steps:
Step 1: Prepare the Surface
Ensure that the surface to be rendered is clean and free of dust, debris, and loose materials. Apply a bonding agent if necessary.
Step 2: Apply the Render
Apply the render mixture to the wall using a trowel. Work in manageable sections to prevent the render from drying out too quickly.
Step 3: Use the Straight Edge
Hold the straight edge firmly against the wall, starting from the bottom. Move it upwards in a sawing motion to level the render. Ensure even pressure for a consistent finish.
Step 4: Check for High and Low Spots
As you work, check for any high or low spots. Add more render to low spots and remove excess from high spots.
Step 5: Smooth and Finish
Once the render is level, use a feather edge for final smoothing. Allow the render to set slightly before giving it a final polish with a float.

