LOADING

Type to search

The Ultimate Guide to Surface Preparation for LVT Flooring Installations

Guides

The Ultimate Guide to Surface Preparation for LVT Flooring Installations

Share

Luxury Vinyl Tile (LVT) flooring has become a go-to solution across residential, commercial, and retail environments. It offers durability, design flexibility, and a clean, modern finish. But as many installers quickly discover, even the best LVT will only perform as well as the surface it’s laid on.

From our experience working with contractors and flooring professionals, surface preparation is where successful installations are won or lost. This guide breaks down why preparation matters, the issues that commonly cause problems, and the tools, techniques, and workflows we recommend to achieve a flawless, long-lasting LVT finish.

Why Surface Preparation Matters for LVT Flooring

LVT is a resilient floor covering, but it leaves little room for error. Because it closely follows the subfloor’s profile, any imperfection beneath it, no matter how small, can show through once the tiles are laid.

Installers who skip or rush preparation often run into issues such as:

  • Visible ridges, joints, or hollows
  • Adhesive failure or poor bond strength
  • Lifting edges and gapping
  • Accelerated wear in traffic lanes
  • Costly call-backs and rework

We always recommend treating preparation as a core part of the installation, not a separate or optional stage. Most LVT manufacturers specify tight flatness tolerances, and consistently meeting them requires a methodical approach and the right equipment.

Common Subfloor Issues to Identify Early

Unevenness and Surface Irregularities

High spots, ridges, power-float marks, and low areas are particularly common on concrete and screed substrates. Even slight deviations can affect tile alignment and adhesive coverage, especially with large-format LVT.

Moisture Issues

Excess moisture remains one of the biggest causes of flooring failure. If moisture is trapped beneath LVT, it can break down adhesives, cause tiles to lift, and lead to long-term performance issues. Moisture testing should always be completed before preparation begins.

Surface Contamination

We regularly see subfloors contaminated with:

  • Old adhesive residues
  • Paint, plaster, or compound spills
  • Oils, grease, or curing agents
  • Fine dust and debris

Any contamination left behind will compromise adhesion, so complete removal is essential.

Weak or Friable Substrates

Dusty or weak surfaces are a warning sign. If the surface lacks strength, no adhesive or compound will compensate. Mechanical preparation is the only reliable way to expose a sound, bondable substrate.

Tools and Equipment We Recommend for LVT Preparation

Achieving consistent results requires the right tools for each stage of preparation. Over the years, we’ve seen how the correct equipment not only improves finish quality but also saves time on site.

Diamond Grinders and Polishers

Diamond grinding is one of the most effective methods for preparing concrete and screeds. It allows installers to:

  • Remove laitance and weak surface layers
  • Flatten uneven substrates
  • Create a consistent mechanical key
  • Prepare floors for smoothing compounds

Polishers fitted with suitable diamond tooling can also be used to refine surfaces without over-aggressively removing material.

Floor Strippers

Where existing floor coverings are present, floor strippers provide a fast, controlled way to remove:

  • Old vinyl tiles
  • Carpet and adhesive residues
  • Bitumen-based materials

Compared to manual methods, mechanical stripping is cleaner, faster, and far more consistent.

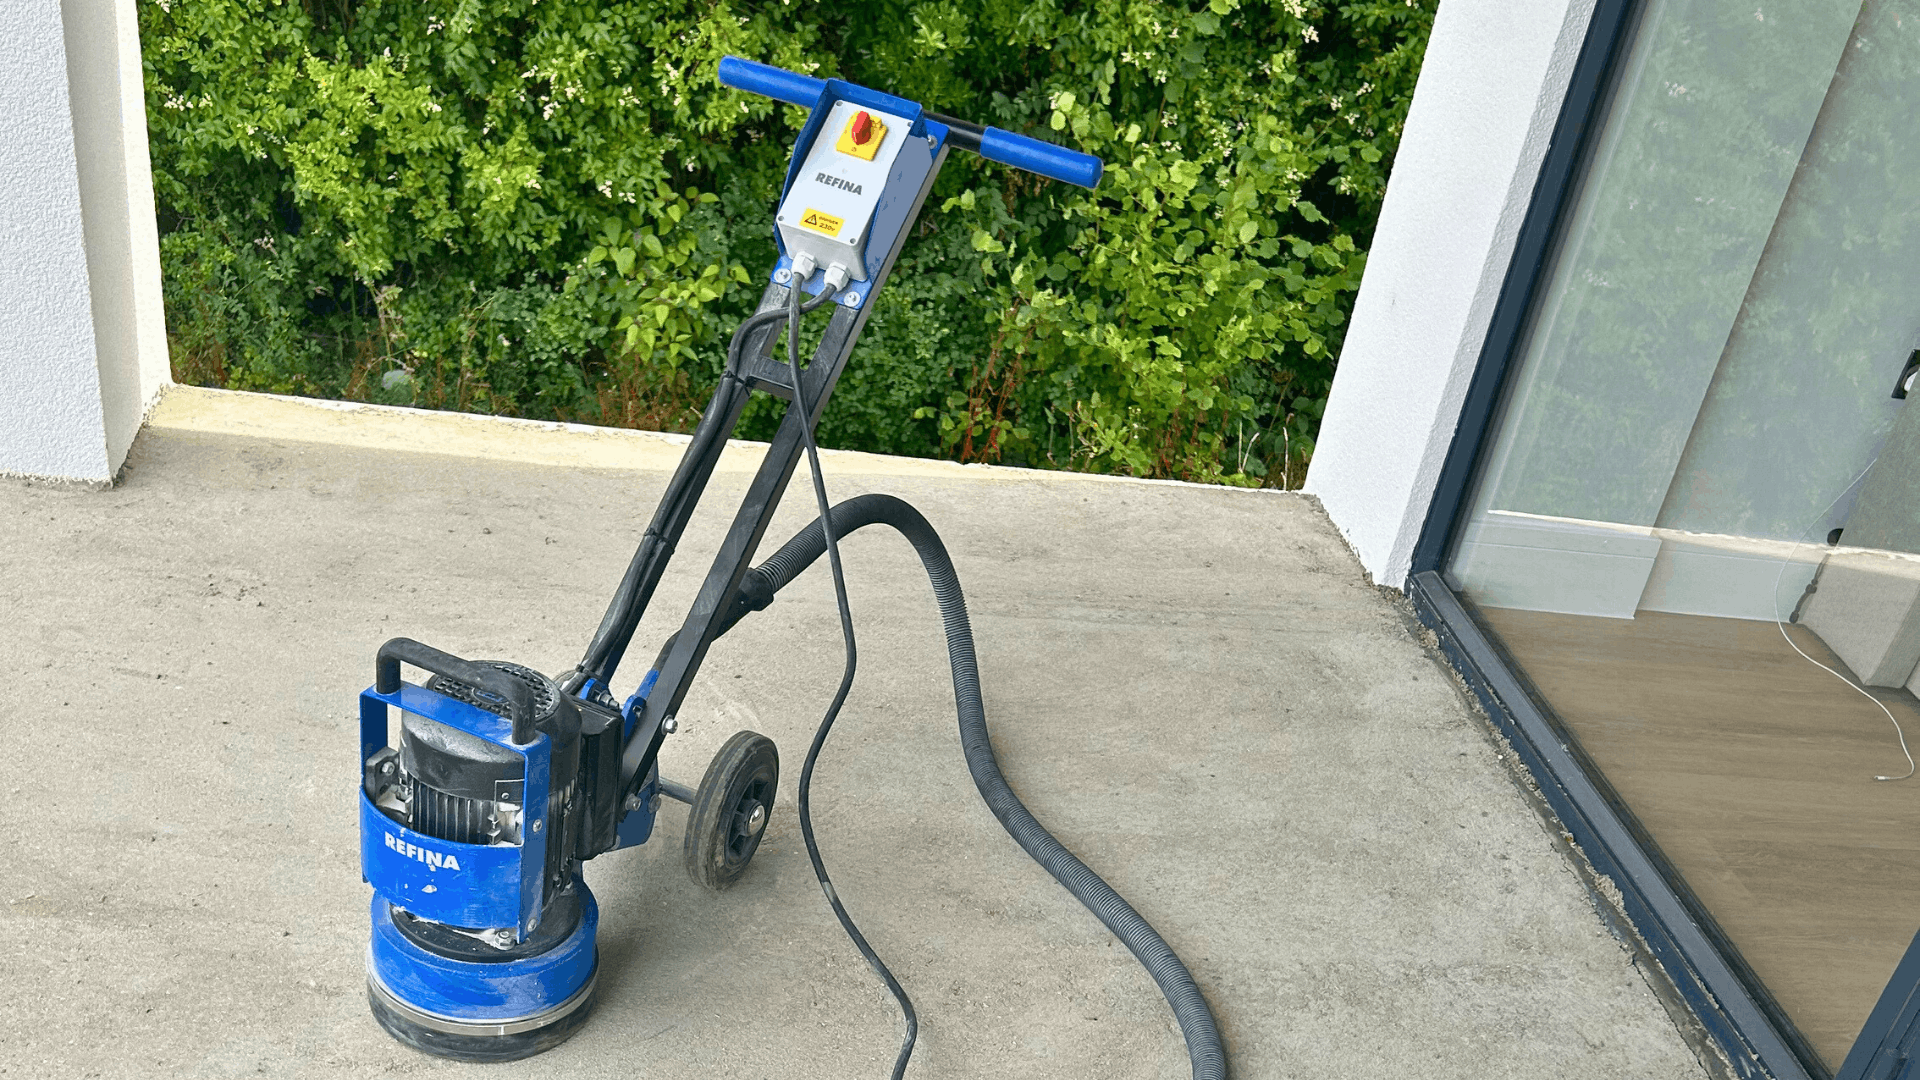
Diamond grinders for effective surface removal.

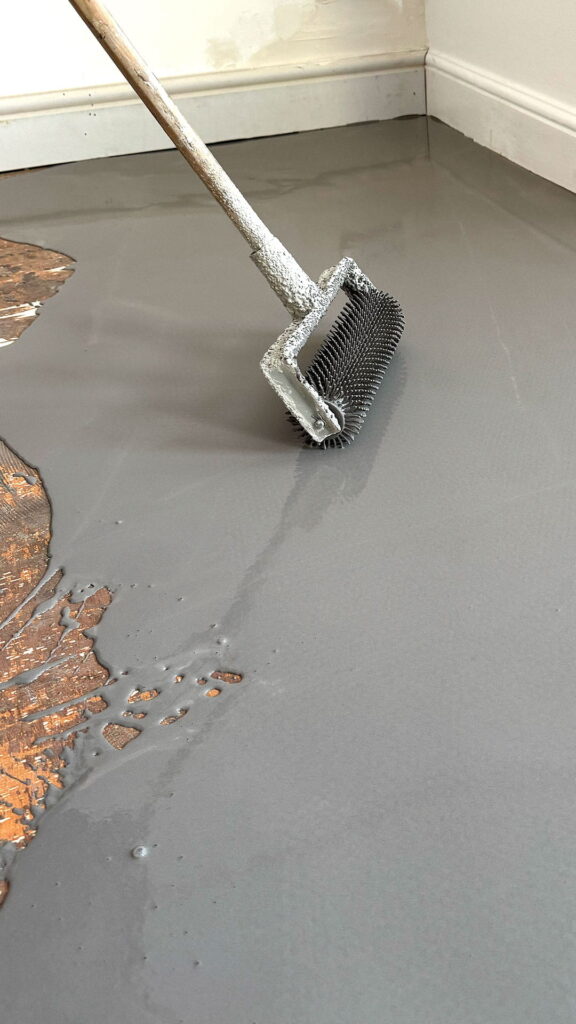
Powerful strippers designed to lift floor coverings, carpet tiles, lino, vinyl & LVT floor coverings.

Sanders

For timber subfloors or raised access floors, sanding machines are often the better option. They allow for controlled surface abrasion, coating removal, and preparation without damaging the substrate.

Scabblers and Surface Blasters

When dealing with heavily contaminated or uneven surfaces, more aggressive preparation is sometimes unavoidable. Scabblers and surface blasters are ideal for removing thick coatings, weak layers, or heavy build-up where grinding alone isn’t sufficient.

Dust Extraction

We strongly recommend pairing every preparation tool with effective dust extraction. This improves site safety, prevents airborne contamination, and ensures primers, adhesives, and compounds bond properly.

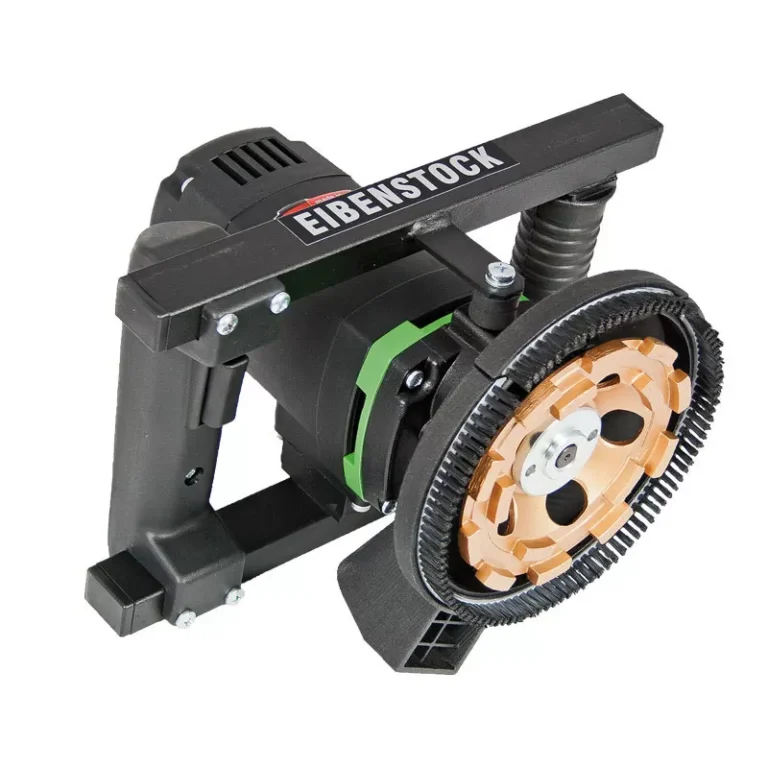
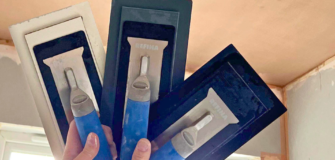
Handheld & long-reach sanders for sanding back and smoothing surfaces prior to painting and decorating.

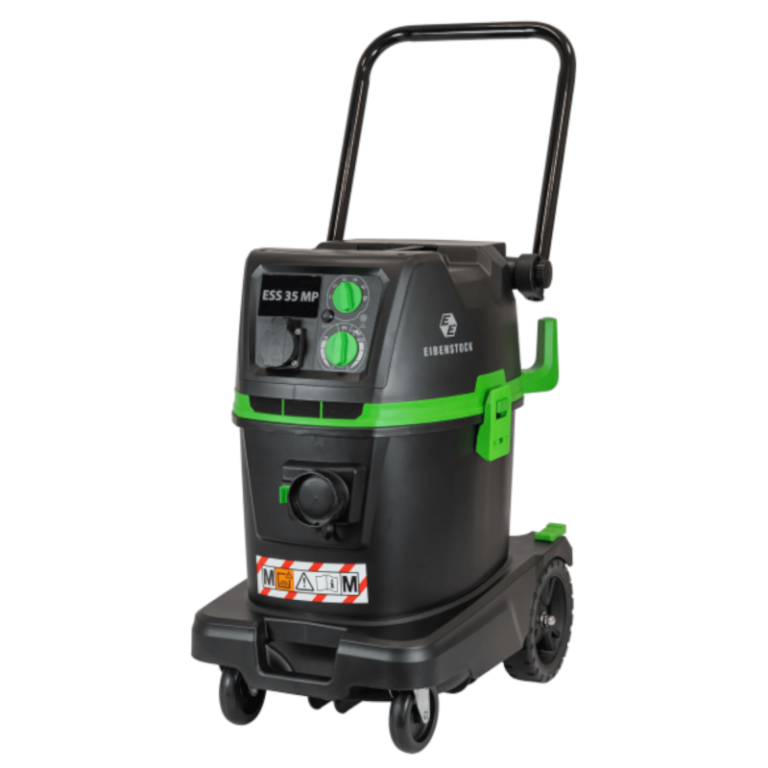
Professional dust management for sanding, grinding and surface preparation. Explore the full REFINA range.

Consistent Mixing for Reliable Levelling

A smooth, flat finish depends not only on application but on accurate mixing.

The REFINA Floormix 2300 Mobile Mixer is designed to support this process by allowing larger volumes of smoothing compound to be mixed efficiently on site.

Using a high-torque, mobile mixer helps:

  • Achieve consistent flow and strength
  • Reduce physical strain on operatives
  • Speed up preparation on multi-room or commercial projects
  • Minimise mixing errors that can affect curing and finish

A Step-by-Step Workflow We Recommend for LVT Preparation

A clear workflow helps ensure no critical steps are missed.

1. Inspection and Testing

Assess surface flatness, identify contamination, and carry out moisture testing. Confirm tolerance requirements before starting.

2. Removal of Existing Floor Coverings

Use floor strippers or grinders to remove old finishes completely. Partial removal almost always leads to bonding problems later.

3. Mechanical Surface Preparation

Choose the appropriate method:

  • Grinding for concrete and screed
  • Sanding for timber
  • Scabbling or blasting for heavily contaminated surfaces

The goal is a sound, evenly prepared substrate.

4. Cleaning and Dust Control

Thoroughly vacuum the surface using industrial extraction equipment. Cleanliness at this stage directly affects adhesion performance.

5. Priming

Apply the correct primer to control suction and promote bond strength between the substrate and smoothing compound.

6. Mixing and Applying Smoothing Compounds

Mix accurately using mechanical mixers and apply evenly to achieve the required flatness tolerances.

7. Final Checks

Once cured, check flatness, surface integrity, and cleanliness before installing the LVT.

Practical Tips for Different Subfloor Types

Concrete

  • Remove laitance and curing agents mechanically
  • Repair cracks and joints before levelling
  • Monitor moisture carefully
  • Avoid over-polishing, which can reduce adhesion

Timber

  • Secure loose boards and eliminate movement
  • Sand to remove coatings and provide a mechanical key
  • Use appropriate primers or overlays
  • Ensure deflection meets flooring requirements

Screeds

  • Confirm full curing before preparation
  • Remove weak surface layers
  • Address shrinkage cracks
  • Use smoothing compounds compatible with the screed type

Why Proper Preparation Always Pays Off

From what we see on site, thorough preparation consistently delivers:

  • Faster installations
  • Fewer failures
  • Longer floor lifespan
  • Better visual results
  • Greater client confidence

For contractors, it also protects reputation and profitability by reducing remedial work and call-backs.

LVT flooring performs best when installed on a properly prepared surface. From mechanical preparation and dust control to accurate mixing and levelling, every stage contributes to the final outcome.

By following a structured approach and using professional-grade preparation equipment, installers can deliver results that meet manufacturer standards and stand the test of time. That’s why we always see surface preparation not as a preliminary task, but as the foundation of a successful LVT installation.

Leave a Comment