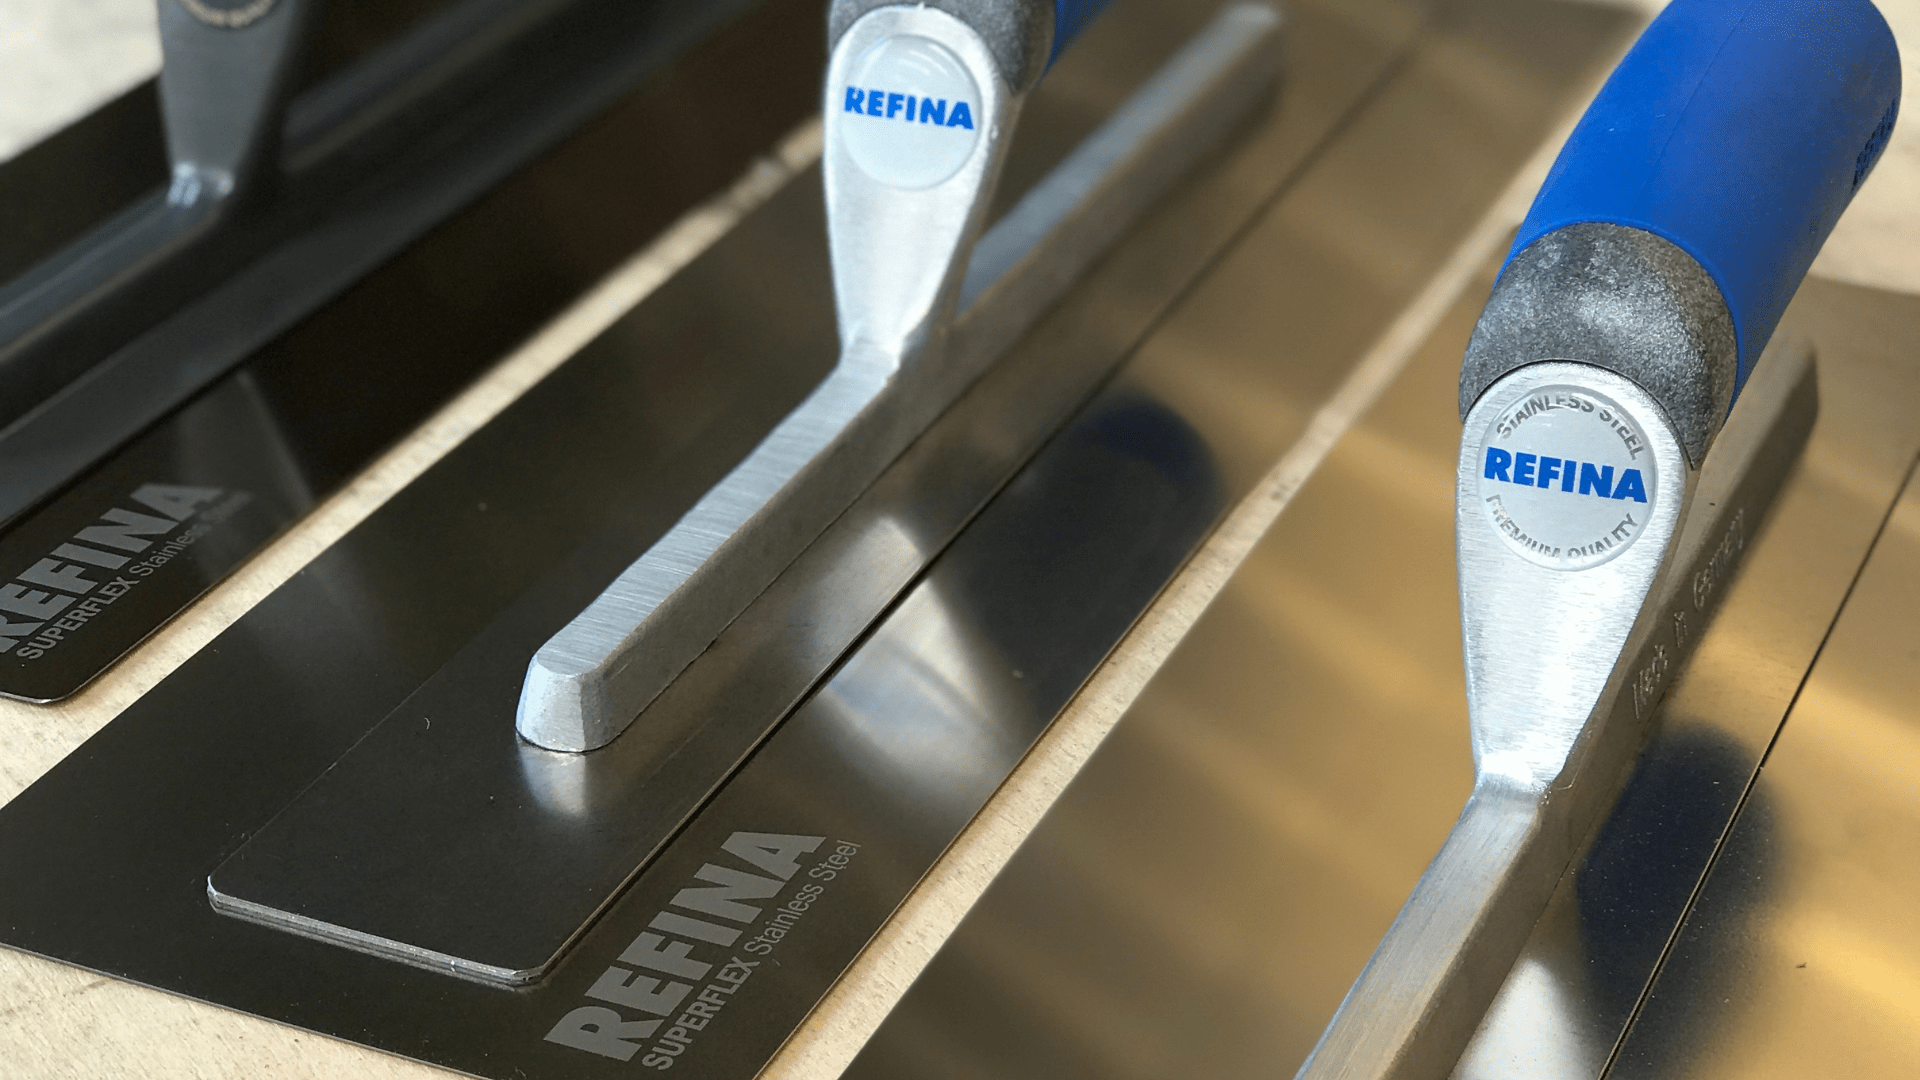
If you’ve decided to go ahead and break in your trowel, here’s a simple guide on how to do it. The aim is to smooth down the sharper elements without damaging the integrity of the blade.
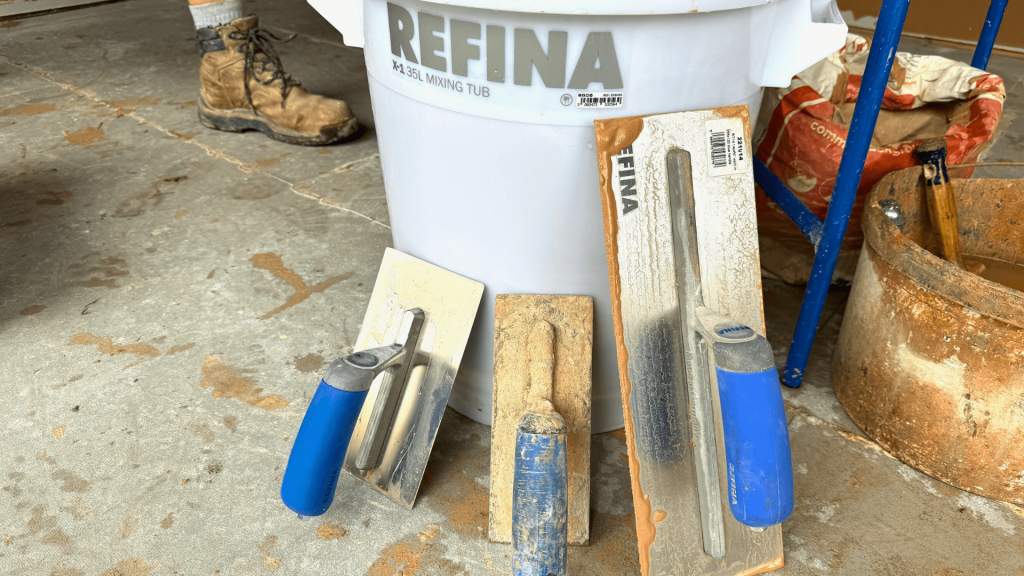
Tools & Materials You’ll Need:
- Fine-grade abrasive paper (e.g., 400–800 grit wet/dry sandpaper)
- Sanding block or flat file
- Soft cloth
- Metal polish (optional)
- Protective gloves
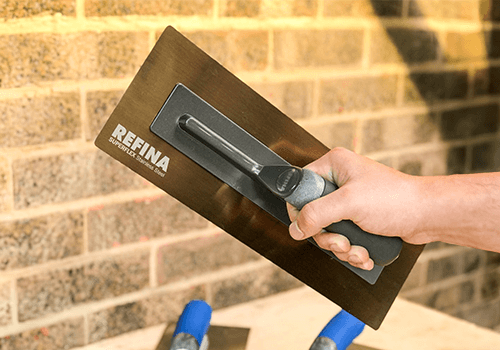
Step 1: Check the Edges and Corners
Run your fingers gently along the edges and corners of the trowel. If you feel sharp points or jagged areas, these are prime spots to round off slightly.
Step 2: Sand the Edges
Using your sandpaper wrapped around a sanding block, gently work along the long edges of the trowel in smooth, even motions. Focus particularly on the corners; you’re not trying to make them blunt, just slightly softened to avoid dragging through the plaster.
Tip: Keep the sanding consistent and light. Too much pressure or uneven filing could distort the shape.
Step 3: Polish the Face (Optional)
Some plasterers like to polish the surface of the blade using metal polish or a fine abrasive pad. This can reduce surface drag when laying on or finishing, especially when the trowel is new.
Step 4: Wipe Clean
Use a soft cloth to wipe down the trowel thoroughly, removing any dust, grit, or residue. You want to avoid any debris from transferring onto your plaster during your first use.
Step 5: Use on a Less Critical Job
Before using the trowel on a high-visibility surface, try it out on a backing coat or internal surface where imperfections aren’t an issue. This allows you to test the feel and make any final adjustments.
In fact, some plasterers prefer to use a new trowel exclusively for rendering work for the first 3 to 6 months. This approach allows the blade to wear in naturally while still being productive on site. Once the trowel has seen consistent use, it’s then promoted to the finishing trowel tool kit. This method keeps the trowel in excellent working condition while gradually enhancing its performance for fine finish work.